DIY Olive Brine For Martinis: The Ultimate Step-By-Step Guide
Think about a Dirty Martini’s flavours and you will immediately know that this classic cocktail is incomplete without the addition of olive brine. Salty, tangy and packed with the flavours of olives, an olive brine is nothing short of a unique elixir that gives the Martini its iconic flavour and depth. If you are interested in making Martinis, especially the Dirty Martini for your next cocktail party, then whipping up a good batch of olive brine is a must.
Truth be told, making olive brine for Martinis is the easiest thing in the world and the technique itself has been around for centuries. Originating in the Mediterranean, the main hotspot for olive production in the world, olive brines were innovated to basically preserve olives for cocktails. Since ancient times, Spanish Manzanilla and Sicillian Castelvetrano olives were preserved in a blend of vinegar, salt and water for later use—until one fateful day when somebody tasted the brine itself and discovered its incredible flavours.
Legend has it that the addition of olive brines in cocktails like Martinis gained immense popularity in the United States during the cocktail renaissance of the early 20th century, and since then, bartenders and mixologists worldwide have sought after the depth and complexity the olive brine offers to cocktails. Now, if you want to make a large batch of olive brine at home for your next party, then worry not. Here is the ultimate step-by-step guide you need for a DIY olive brine.

All That You Need For Your DIY Olive Brine
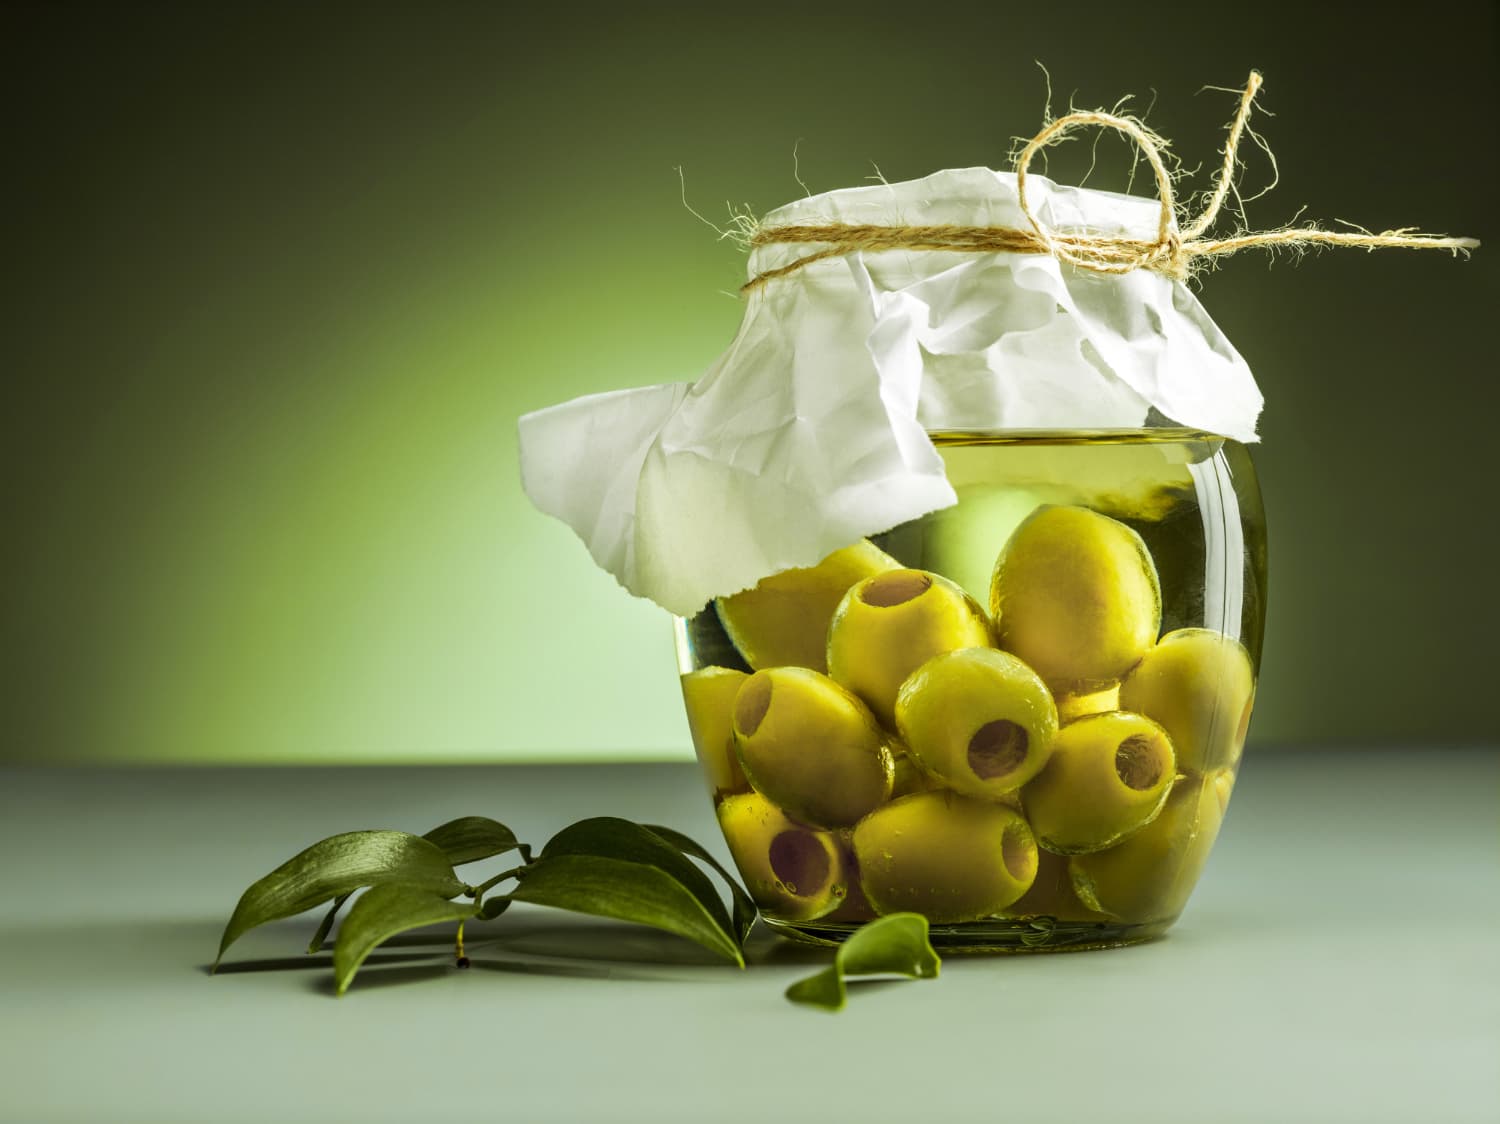
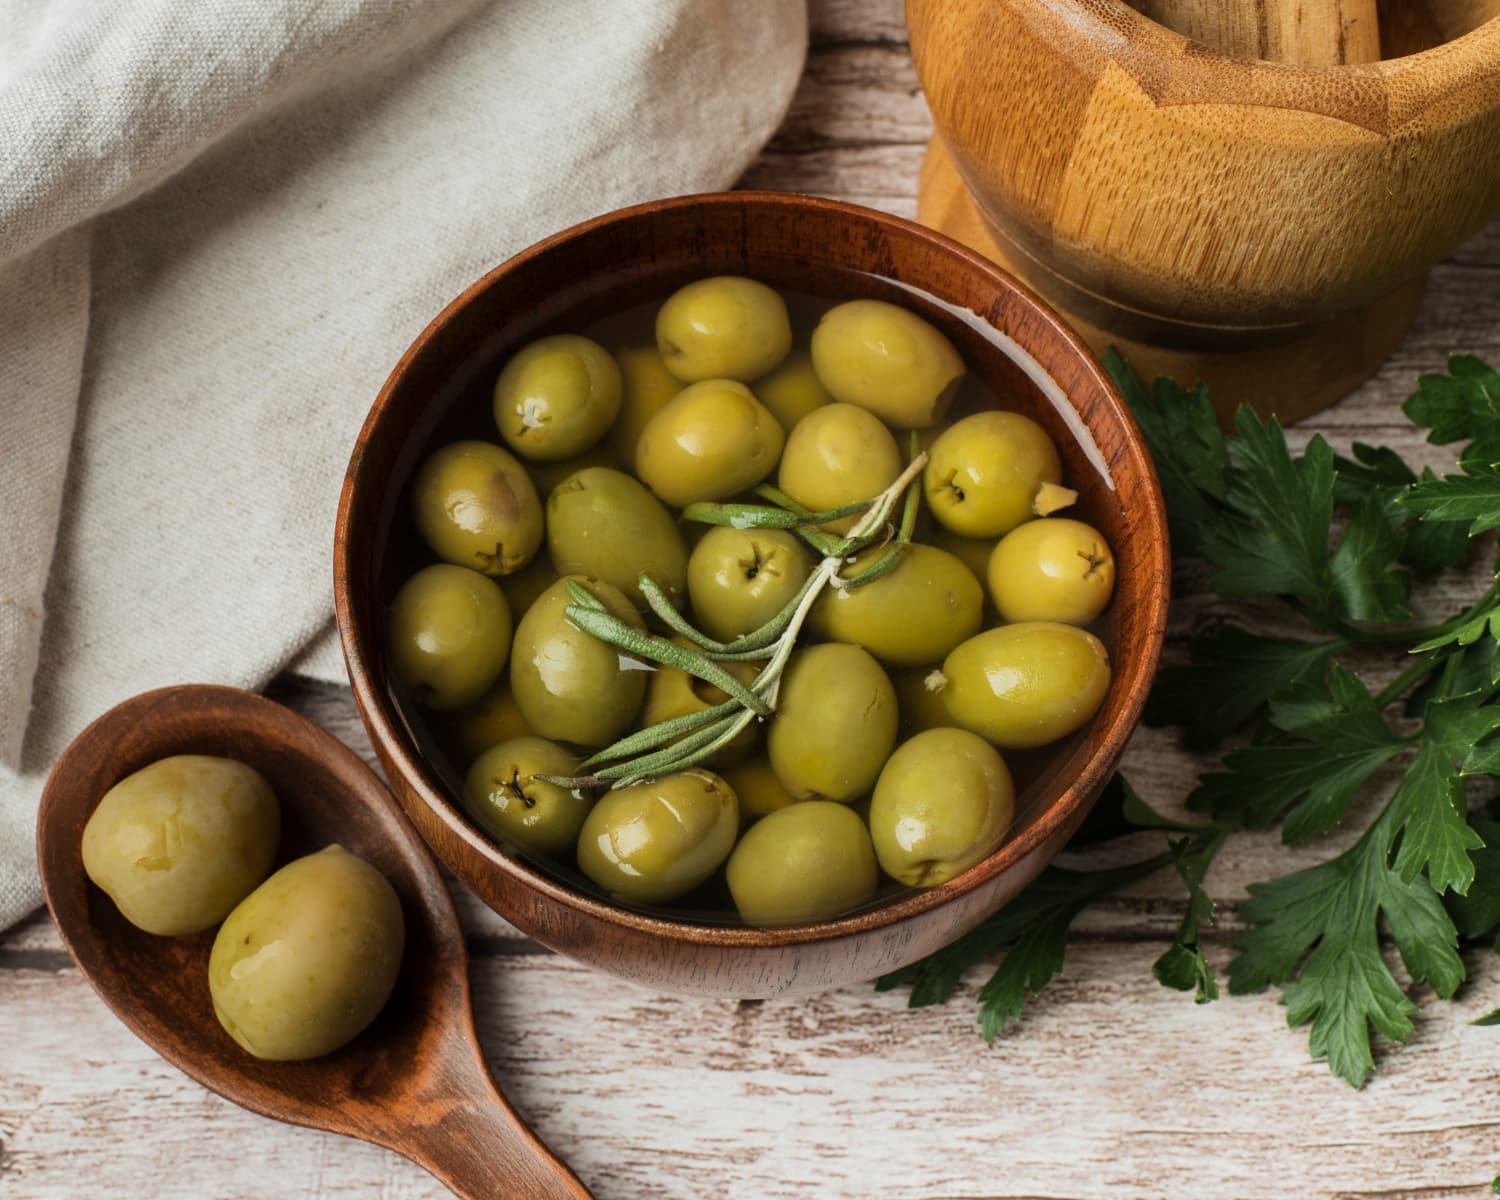
The first thing you need to get for your olive brine is, of course, olives. Here, go for the best quality of olives and choose those from the Mediterranean for best results. This apart, you will also need good quality white vinegar or white wine vinegar for brining. Salt and water are needed in the right proportion to create that balance of saltiness in the brine. And while these ingredients should be enough, you can also add flavouring agents like garlic, peppercorns, herbs like rosemary to add more depth and flavour to the brine. And, of course, you will need glass jars that can be sealed with a tight lid.

DIY Olive Brine For Martinis: A Step-By-Step Guide
As mentioned before, making an olive brine is an ancient and easy method, and doing it at home is quite easy if you have access to all the ingredients. Once you do get the ingredients, here are all the steps you need to follow to make your own DIY olive brine at home.
Step 1. Olive Prepping
Olives are naturally briny and salty, so washing them thoroughly and repeatedly with cold water is essential. This step will help regulate the saltiness of the final brine, making it perfectly balanced instead of overtly salty.
Step 2. Sterilise The Jars
Sterilise the sealable glass jars and lids by boiling them in hot water for three to four minutes, then let them dry out completely on a wire rack. Ensure they are completely dry before use.
Step 3. Brine Preparation
In a saucepan, place half litre water, half litre white vinegar and around 450g of salt and stir them over a medium heat. Once the salt dissolves completely, turn off the heat and allow the brine to cool down completely.

Step 4. Making The Brine
Place the olives in the sterilised jars, then add garlic cloves, rosemary sprigs, peppercorns or any other flavouring agents you want. Pour in the brine and submerge the olives completely.
Step 5. Sealing And Storing
Seal the glass jars securely with the lids and store them in a cool, dark place for at least a week. This duration will allow the brine to develop properly with all the flavours infused to their best, natural ability.
Step 6. Straining The Brine
After the olives have steeped in the brine for over a week, you can use a strainer to separate the olive brine from the olives and the flavouring agents. After this you can use both the olive brine and the olives to make as many Martinis as you like.


