DIY Coconut Shell Cups: A Guide To Creating Sustainable Beverage Holders At Home

Drinks that are made, served, and consumed in a way that respects the environment, lower carbon footprints and minimises waste are considered sustainable beverages. Reusable or biodegradable drinkware, such as coconut shell cups, low-impact production methods, recyclable packaging, and locally sourced ingredients, are all examples of this.
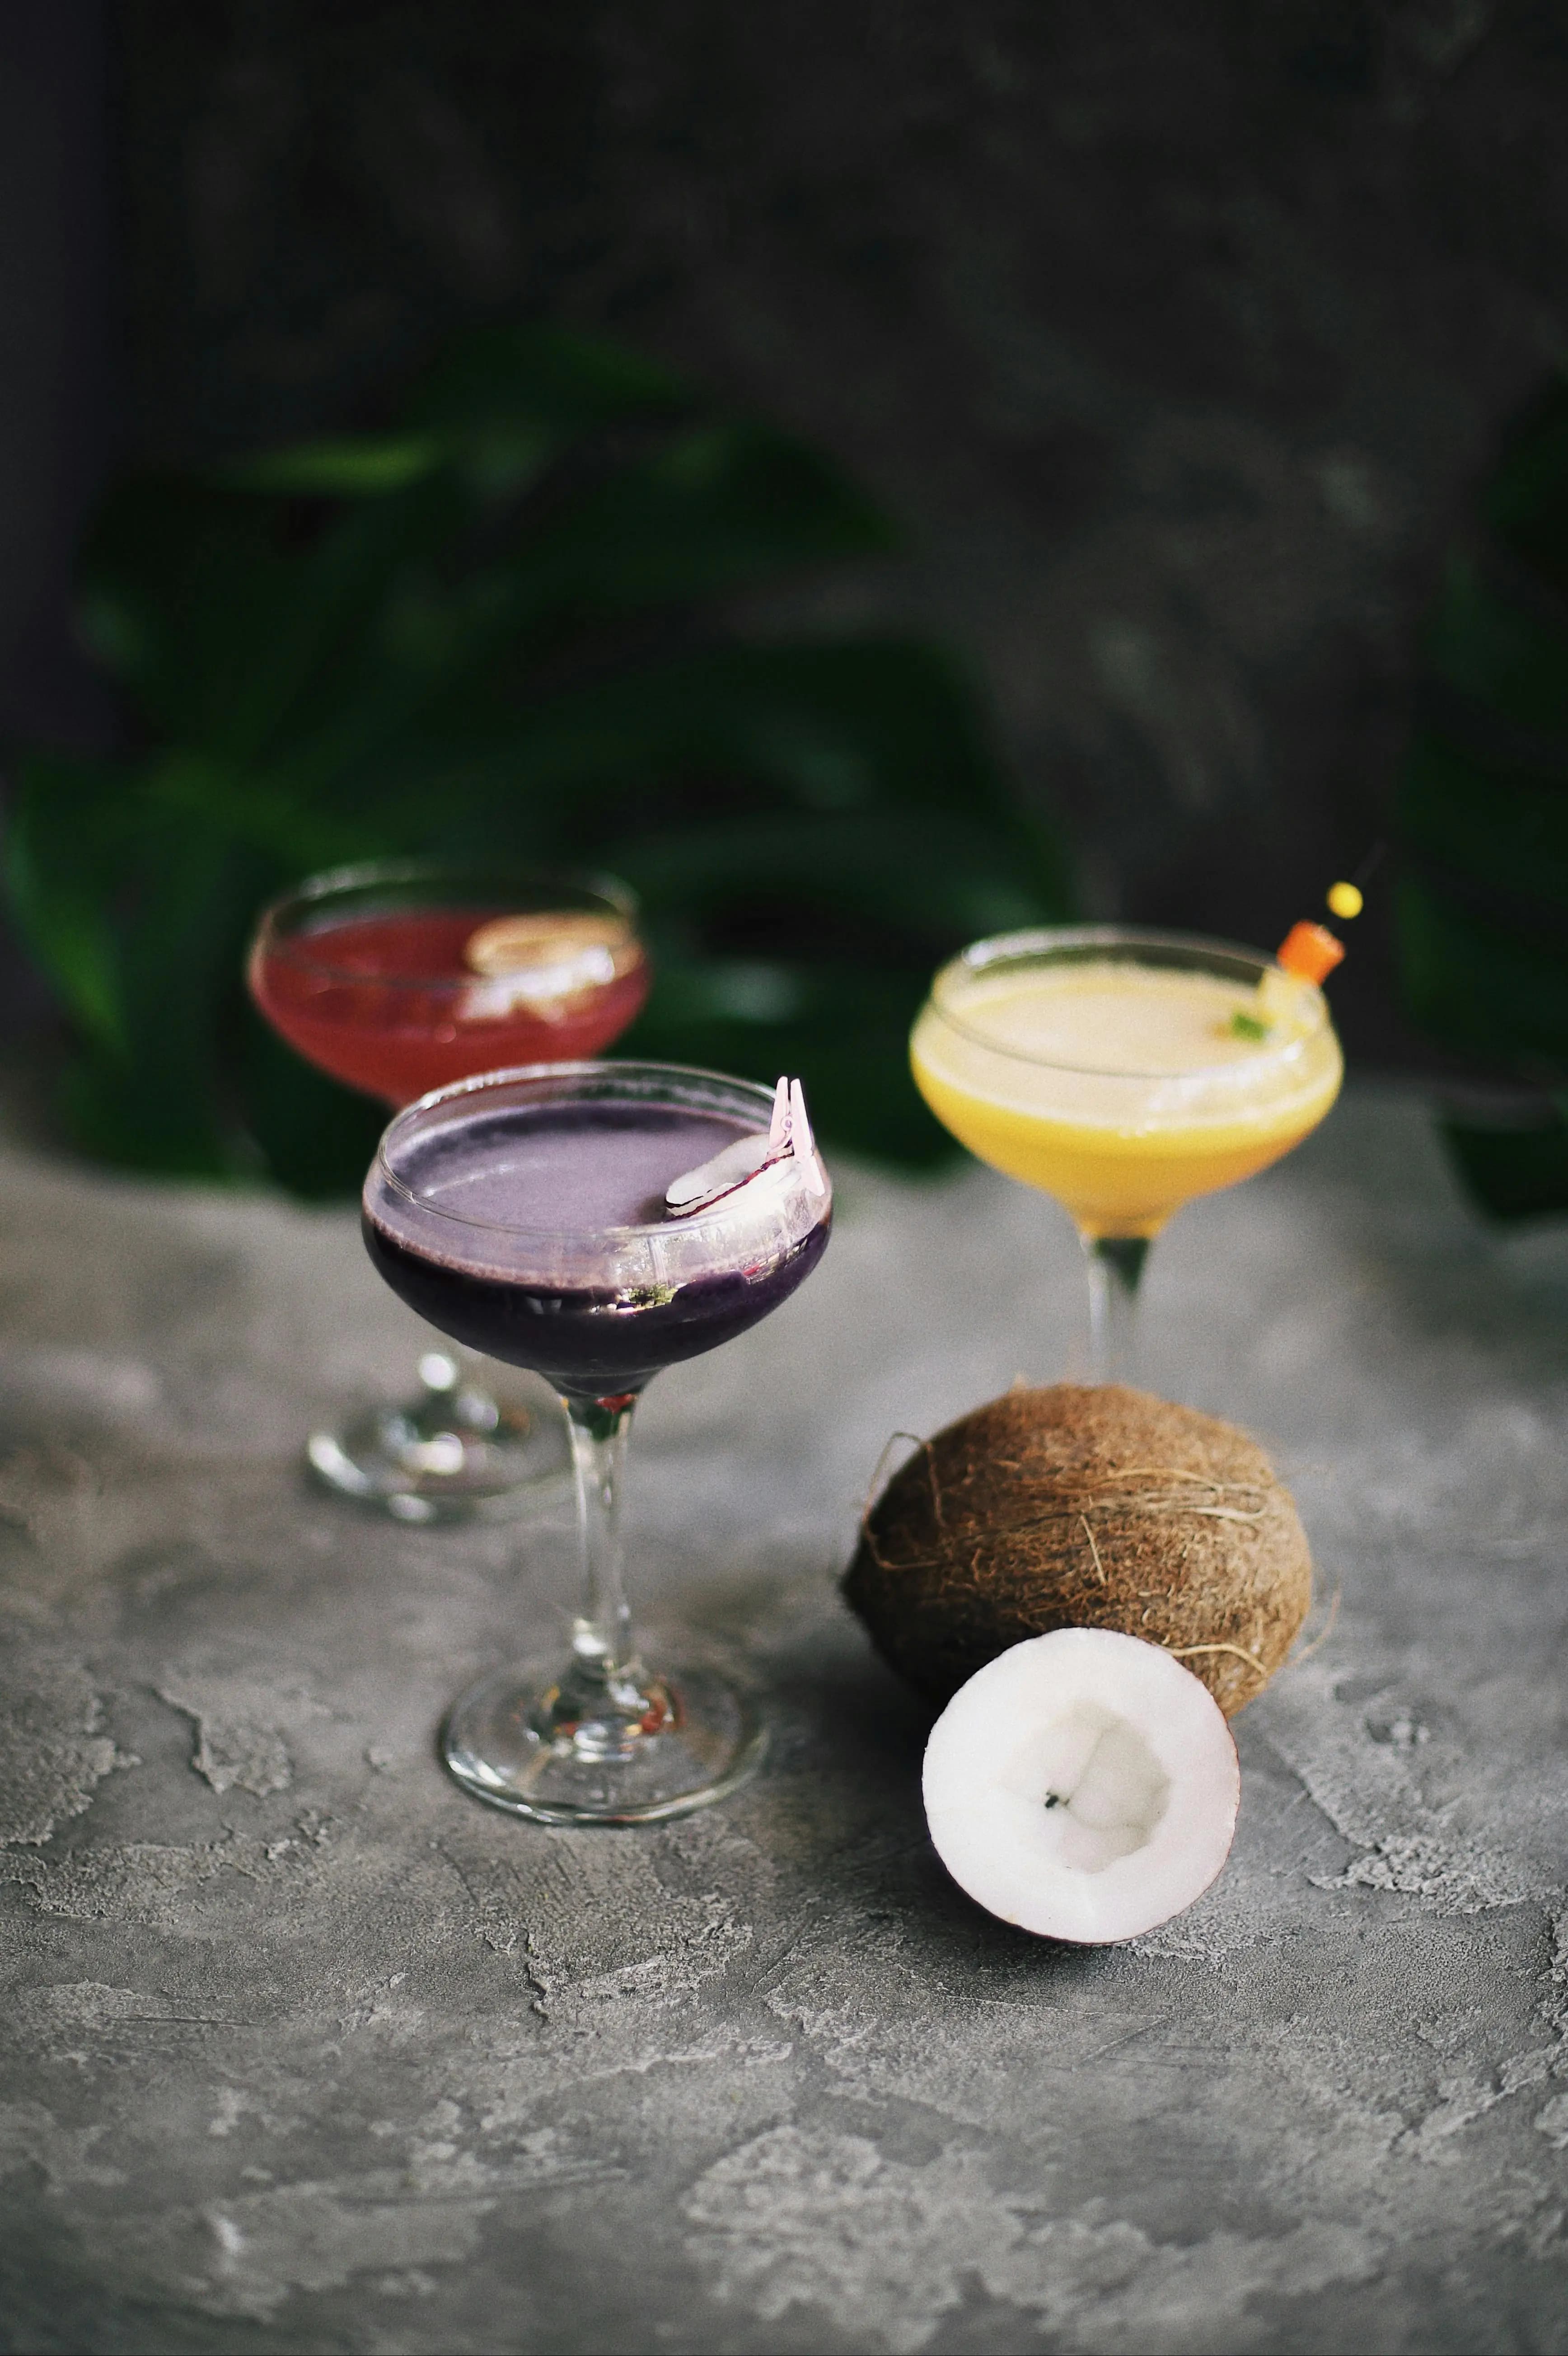
The hard, natural outer coating of a coconut is called the shell, and it is usually thrown away once the flesh and water have been consumed. However, its robust, textured shell can be recycled into chic, earthy drink cups that immediately improve the presentation and reduce waste. The rough, rustic look of the shell adds an organic theme to the table and goes well with tropical beverages. Get to know how to make coconut shell cups with these five tips.
5 Tips To Make DIY Coconut Shell Cups
A coconut shell is a serve any drink with tropical, creamy, or citrussy notes, like those with tastes of coconut, pineapple, lime, or mild spices. It makes the drink taste more earthy because of the shell's aroma. Pour 30 ml of any drink into a clean, polished coconut shell. Add fresh mint or edible flowers as a garnish and serve with crushed ice for a presentation.
1. Pick The Right Coconut
Choosing the proper coconut is the first step towards making do-it-yourself coconut shell cups. You need mature brown coconuts since their shells are larger and firmer than those of young green coconuts. Choose coconuts that are hefty and free of mould or fractures. Give it a shake; the sound of the water sloshing within should indicate that it is fresh. The final cup will be more durable if the shell is thicker. Steer clear of coconuts with obvious soft places or dents since these will affect the finish and durability. Additionally, cups made from coconuts that are smooth and uniformly shaped are easier to handle and more aesthetic.

2. Cut And Hollow The Shell
Precision and patience come together when cutting the coconut shell. Drill a tiny hole first to drain the coconut water; take your time; use it for composting or cooking without wasting it. After draining, carefully cut the coconut shell using a handsaw or hacksaw. Using a coconut scraper or a firm spoon, remove the coconut flesh once it has been cut. Although scraping can be time-consuming, doing it carefully guarantees a clean inside surface without causing any harm to the shell. To get rid of any oil or residue, give the shell a thorough cleaning with water and mild soap.
3. Sanding To Create A Smooth Surface
To smooth off sharp edges and get rid of any remaining fibres, start with coarse sandpaper. Applying too much pressure could cause the shell to shatter. Make sure the rim is level and safe to sip by concentrating on it first. Sand in circular motions on the outer surface after the edges are smooth. A smooth interior guarantees that beverages won't stick to rough fibres or change flavour, so don't cut corners. Wipe the shell with a moist cloth to get rid of dust after the last sanding.

4. Seal And Polish For Durability
After your coconut shell cup has been sanded, it is essential to polish and seal it to maintain its aesthetics and functionality over time. Start by using a natural oil polish; the other options are food-grade mineral oil or coconut oil. Using a cloth as well as oil, rub it on the shell in circular motions until it absorbs the moisture and takes on a faint sheen. This creates a smooth finish and enhances the shell's natural colour. Let each layer completely dry before repeating the oiling process twice. If you intend to use the cup for beverages after polishing, sealing is a must. To prevent cracking and make the cup water-resistant, use an organic beeswax polish or a food-safe sealer.
5. Include Aesthetic and Functional Details
Repurposed twine, wood, or metal can be firmly fastened with tiny screws or non-toxic adhesive (carefully drill holes to prevent breaking). Next, consider using a wood-burning tool or craft knife to etch or engrave basic patterns or designs, such as initials or geometric lines. This enhances the presentation. Use thin leather straps or jute thread to wrap the base or rim for a more themed look.
 Even while green coconut shells are thinner and softer than mature ones, they can still be employed to serve single-use beverages. The smooth inside of the shell makes the ideal bowl for chilled beverages or mocktails once the flesh has been gently sliced and scooped out.
Drink Responsibly. This communication is for audiences above the age of 25.